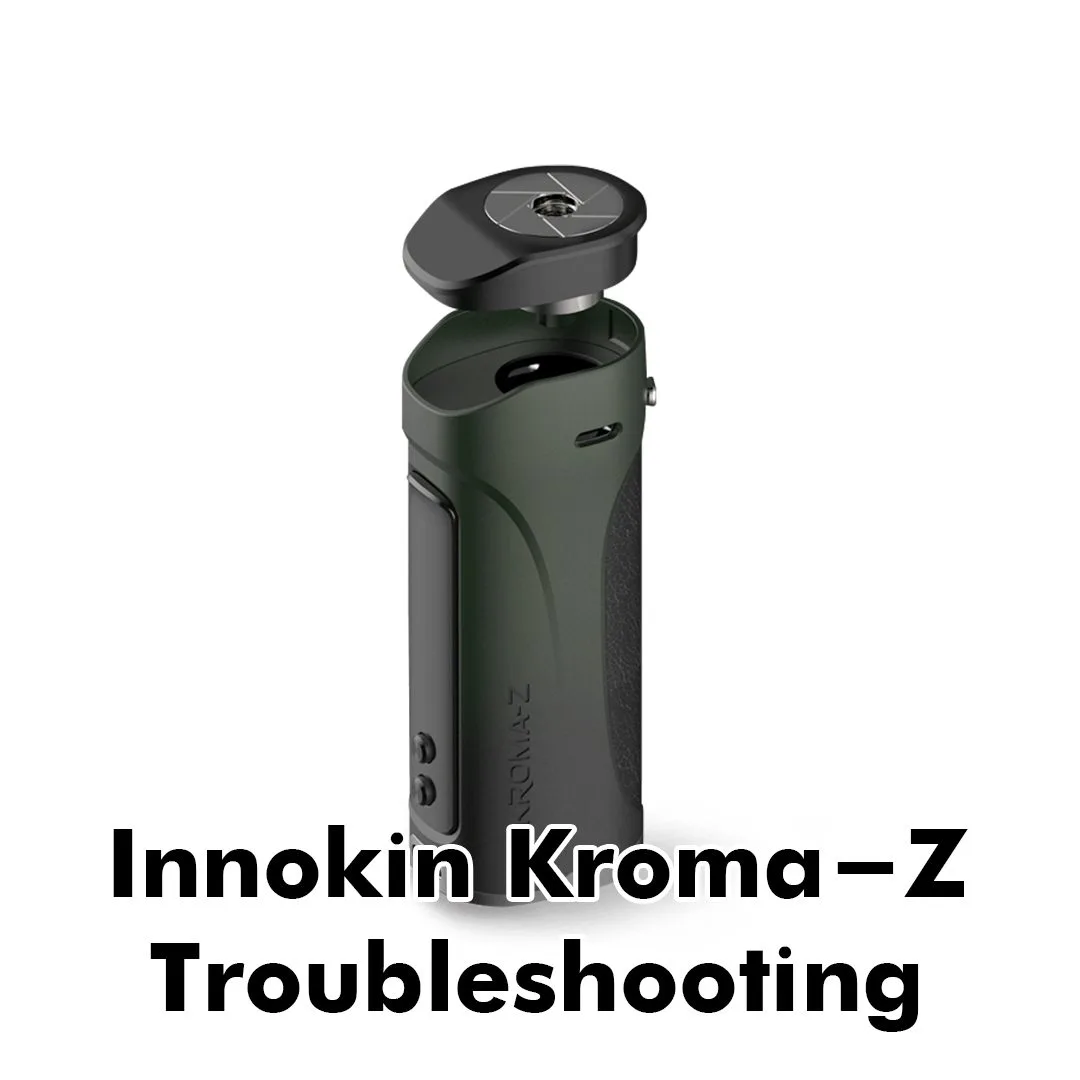
Troubleshooting your Innokin Kroma-Z vape device?
If you own this device, our Innokin Kroma-Z troubleshooting guide will help you fix many potential problems. Here are some of the most common issues with the Innokin Kroma-Z vape kit and ways you can troubleshoot them.
Insufficient or No Vapor Production
- Symptom: The device generates little or no vapor.
- Possible Fixes:
- Battery Check: Make sure the battery is adequately charged. Use the included USB-C cable to charge the device until the battery indicator displays full charge.
- Coil Inspection: Confirm that the coil is correctly installed in the pod or tank. Detach the pod/tank, clean the coil contacts, and securely reinsert it.
- Coil Replacement: If the coil is old or damaged, consider replacing it with a new one. Coils have a limited lifespan and may require replacement for optimal vapor production.
- Wattage Adjustment: Try different wattage settings to find the best range for your coil resistance. Some coils may require higher wattages to produce adequate vapor.
Burnt or Dry Hits
- Symptom: The vapor has a burnt or dry taste.
- Possible Fixes:
- Coil Priming: Before using a new coil, prime it by soaking the wicking material with e-liquid. Let the coil sit for a few minutes to ensure proper saturation and avoid dry hits.
- Wattage Reduction: High wattage settings can overheat the coil, resulting in a burnt taste. Lower the wattage to a level that suits your coil resistance and vaping style.
- E-Liquid Level Check: Make sure the pod/tank is filled adequately with e-liquid. Vaping with low e-liquid levels can result in dry hits.
- Coil Replacement: If the coil is old or burnt, consider replacing it with a new one to get rid of the burnt taste and enhance vapor quality.
- Thick E-Liquid: Use e-liquids with lower VG levels to improve wick saturation and prevent burning.
- Chain Vaping: Allow sufficient time between drags for the e-liquid to re-saturate the coil to prevent dry hits.
Tank or Pod Leakage
- Symptom: E-liquid is leaking from the tank or pod.
- Possible Fixes:
- O-Ring Inspection: Check the tank’s or pod’s O-rings for any damage or misalignment. Replace any damaged O-rings to ensure a proper seal and prevent leaks.
- Tank/Pod Tightening: Make sure all tank/pod components are tightly secured. Over-tightening can damage the O-rings and cause leaks.
- Correct Filling: Avoid overfilling the tank/pod, which can cause leaks. Fill the tank/pod just below the maximum fill line to avoid excessive pressure buildup.
- Coil Installed Incorrectly: Ensure the coil is correctly seated in the tank. If misaligned, it may cause leaking. Remove and re-seat the coil if necessary.
- Cracked Glass: Check the tank for cracks, especially if the device has been dropped. Even hairline fractures can cause leaks. Avoid exposing the device to freezing temperatures to prevent glass damage.
- Prolonged Storage: Never store the device filled with e-liquid for extended periods, as it can saturate the coil and lead to leaks. Empty the tank if not using the device for more than 24 hours.
- Flying / Increased Pressure: Changes in air pressure during flights can cause leaks. It’s best to empty the tank before flying to prevent leaks.
- Overheating: Avoid leaving the device in a hot car or direct sunlight, as overheating can cause e-liquid to expand and leak through the coil and airflow holes.
- Freezing: Exposure to freezing temperatures can make plastic parts brittle and susceptible to breaking, leading to leaks. Store the device in moderate temperature conditions.
Device Not Powering Up
- Symptom: The device doesn’t turn on.
- Possible Fixes:
- Battery Connection Check: Ensure the battery is correctly inserted and making contact with the device. Clean the battery contacts if necessary for a good connection.
- Battery Charging: If the battery is drained, connect the device to a power source using the provided USB-C cable and charge until the battery indicator shows a full charge.
- Device Reset: If the device is unresponsive, try resetting it by removing the battery, waiting for a few seconds, and then reinserting it.
Auto-Draw Feature Not Activating
- Symptom: The auto-draw feature doesn’t activate.
- Possible Fixes:
- Airflow Check: Make sure the airflow vents are clear and not blocked. Obstructed airflow can prevent the auto-draw feature from activating.
- Device Cleaning: Thoroughly clean the device to remove any dirt or debris that might be affecting the airflow sensors.
- Settings Adjustment: Check the device settings to ensure the auto-draw feature is enabled. Consult the user manual for instructions on how to adjust the settings.
Buy your Innokin Kroma-Z Vape Kit today from Canada Vapes! Sold in Canadian dollars, shipped from Canada the same day at the lowest prices in Canada. We even supply a free 30ml bottle of e-liquid! Or you can review all of our Best Vape Kits.
Do you have any additional troubleshooting tips or problems with your Innokin Kroma-Z vape kit? If so, please contact us and we would be happy to help you and add your issue to our Innokin Kroma-Z Troubleshooting Guide!
Here are some related articles.


