Blog
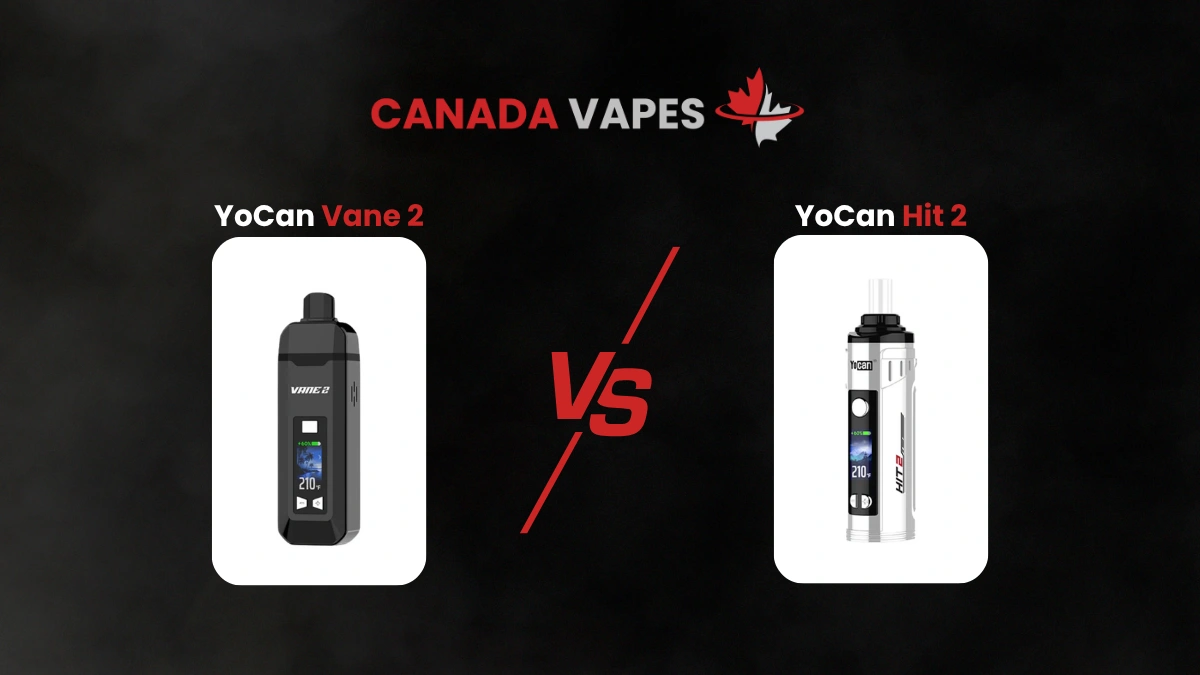
New Yocan Products at Canada Vapes: Vane 2 and Hit 2
15 June 2026
7 mins read
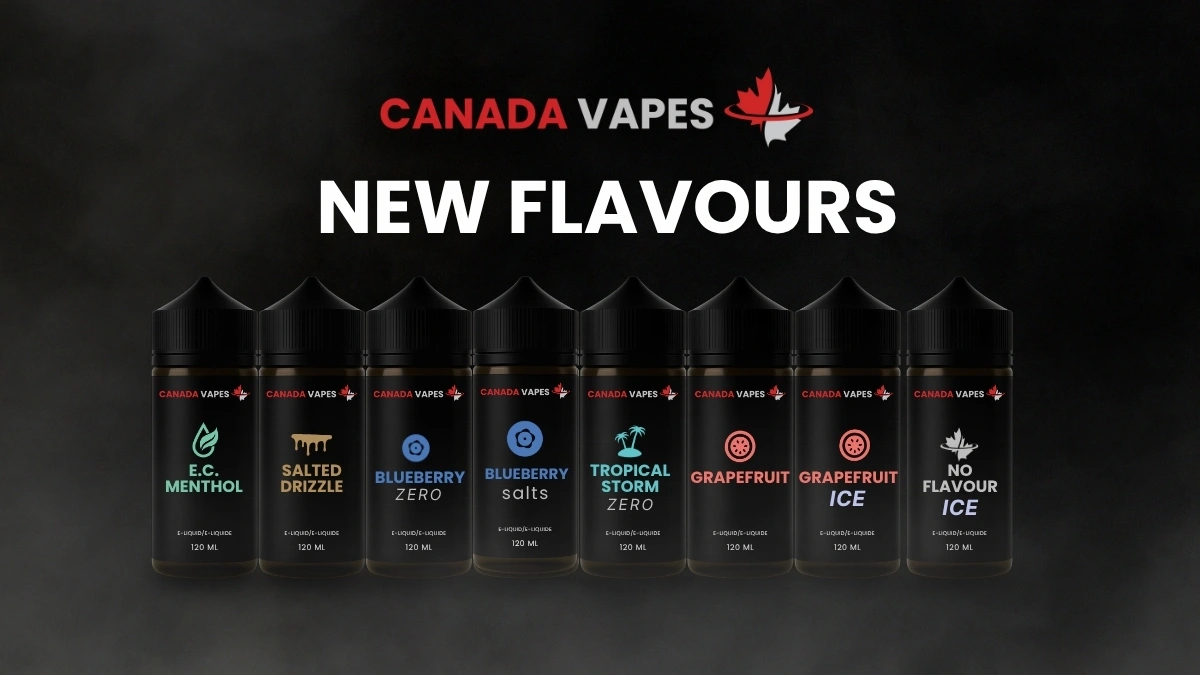
New Vape Juice in 2026 at Canada Vapes: What’s New and What to Try First
11 June 2026
10 mins read
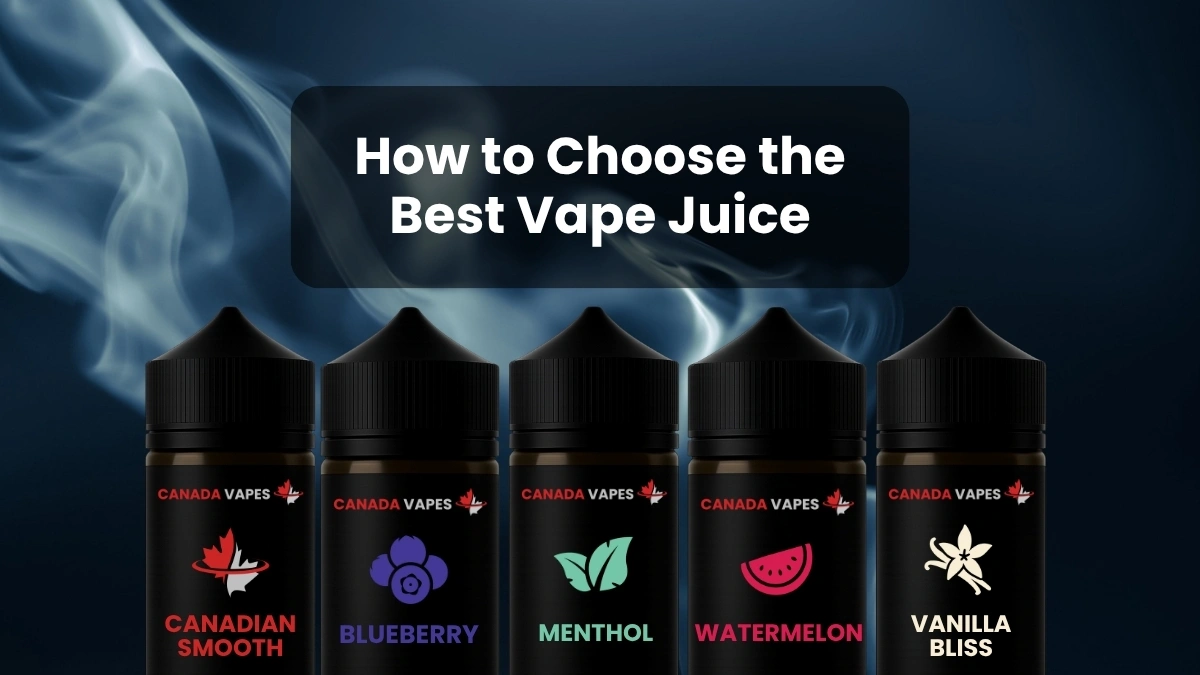
How to Choose the Right E-Liquid: A Simple Guide for Canadian Vapers
3 May 2026
14 mins read
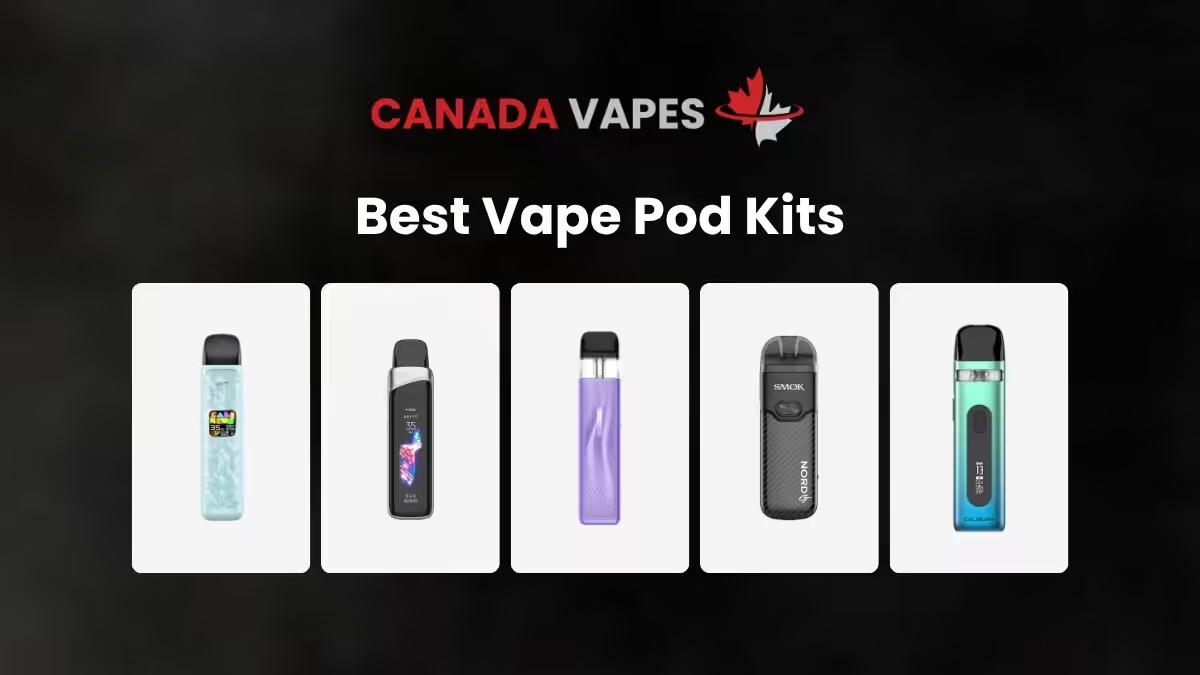
Best Vape Pod Kits 2026: Available at Canada Vapes
8 April 2026
11 mins read

Best Disposable Vapes in Canada (2026): Top Picks Available at Canada Vapes
20 March 2026
9 mins read
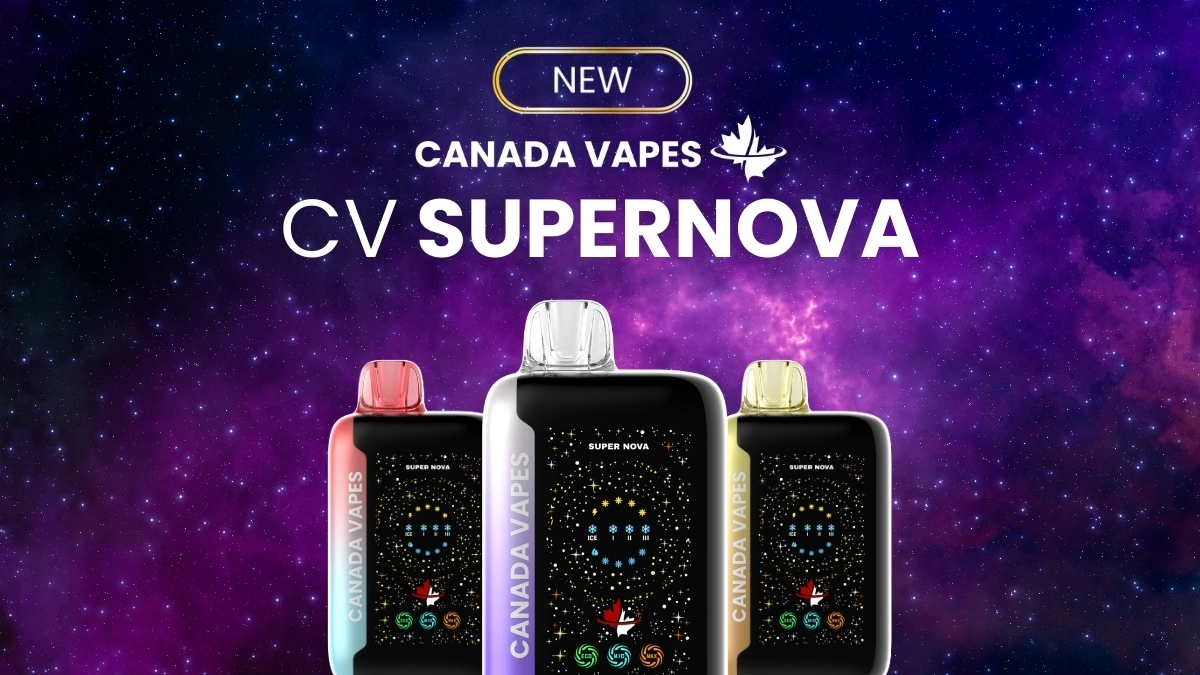
CV SUPERNOVA Review: The 40K Disposable With Ice Adjustment
20 March 2026
9 mins read
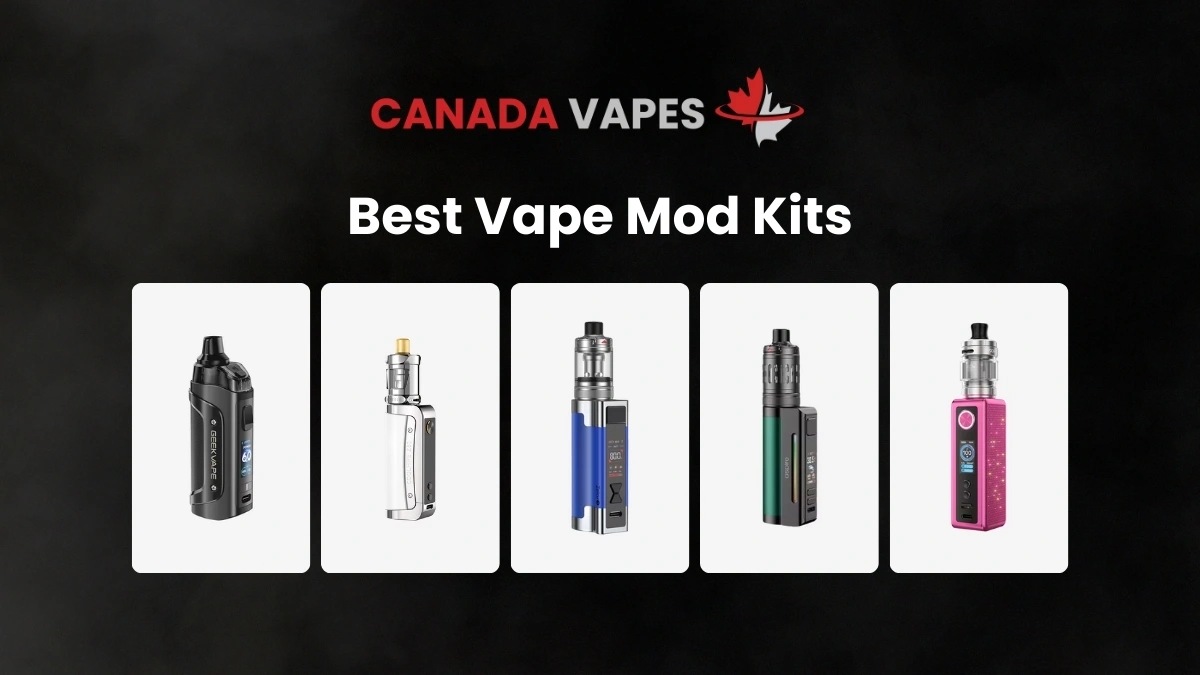
Best Vape Mod Kits in Canada (2026): Top Picks You Can Buy at Canada Vapes
23 February 2026
8 mins read
Nova Scotia Vape Tax Stamps: What It Means for Prices and Product Availability
23 February 2026
6 mins read
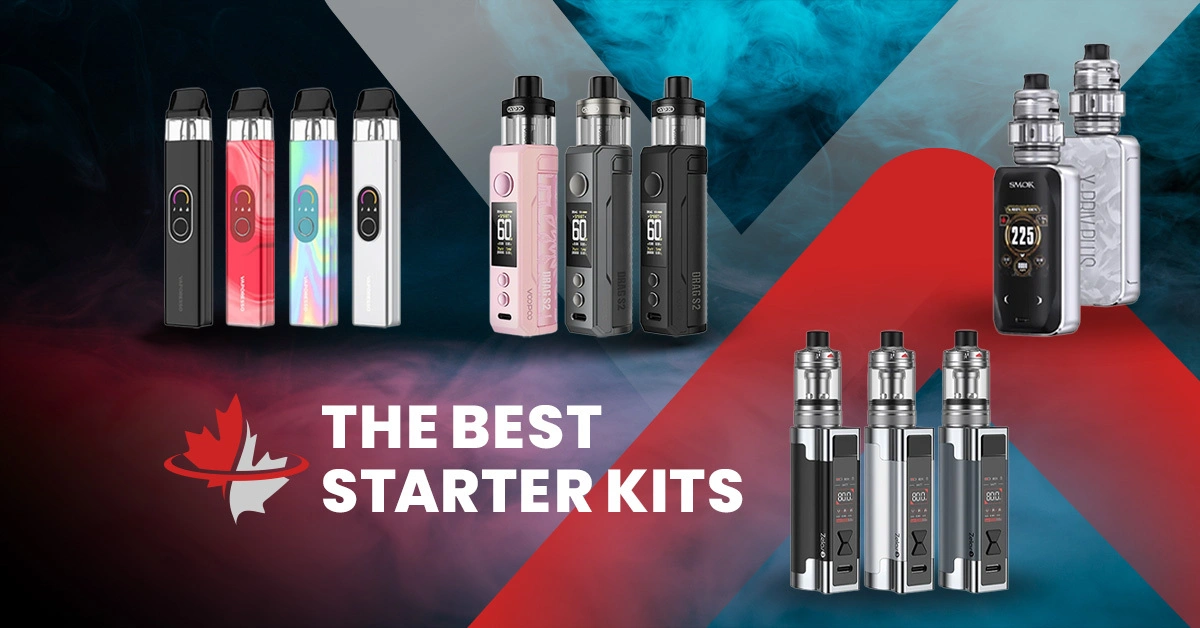
Best Vape Starter Kits in Canada 2026 Available at Canada Vapes
12 January 2026
11 mins read
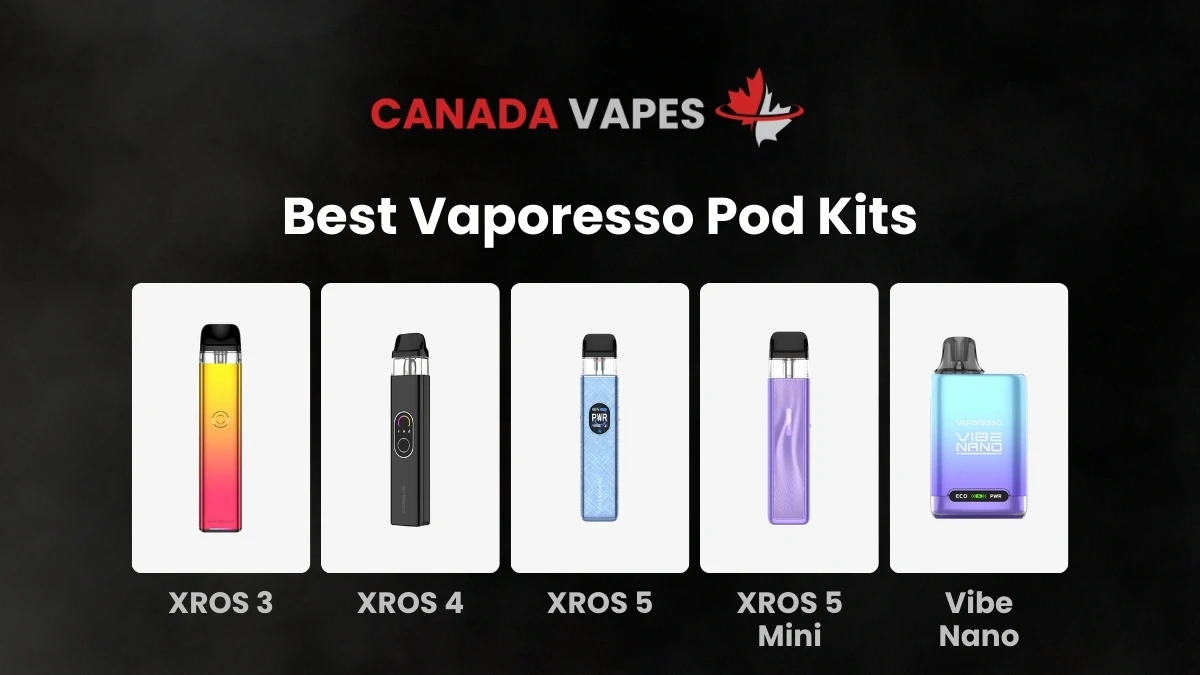
Best Vaporesso Starter Kits In Canada: XROS 3, XROS 4, XROS 5, XROS 5 Mini, And Vibe Nano
29 December 2025
8 mins read
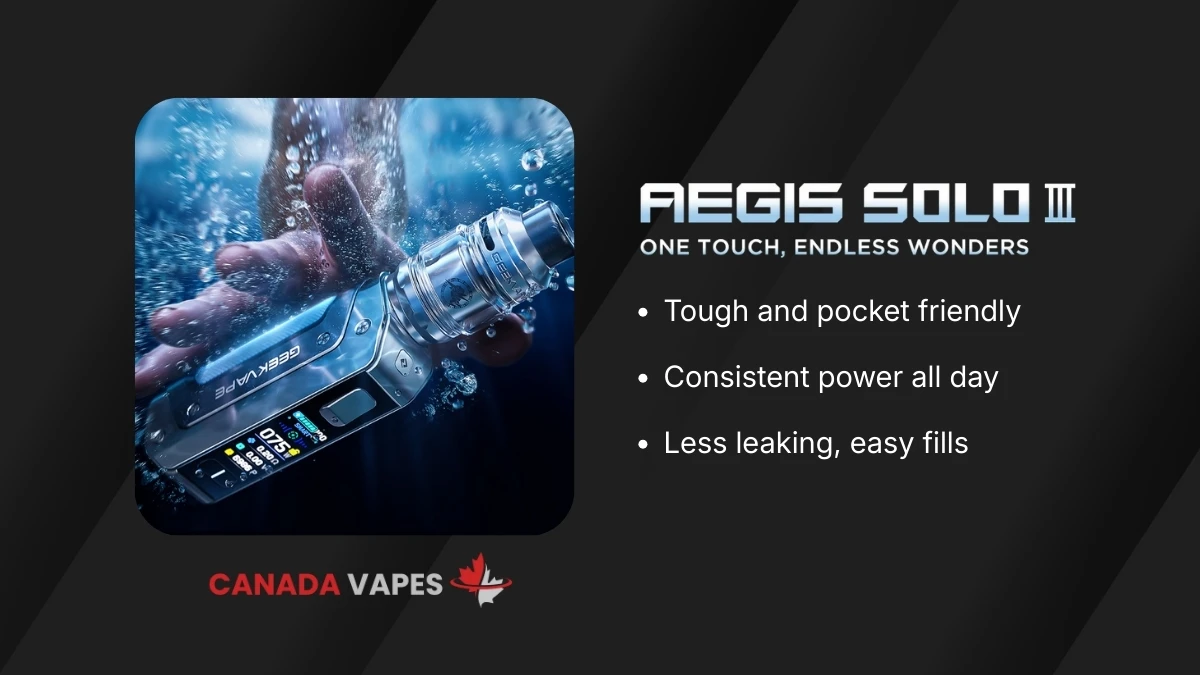
Geekvape Aegis Solo 3 Review
28 December 2025
7 mins read
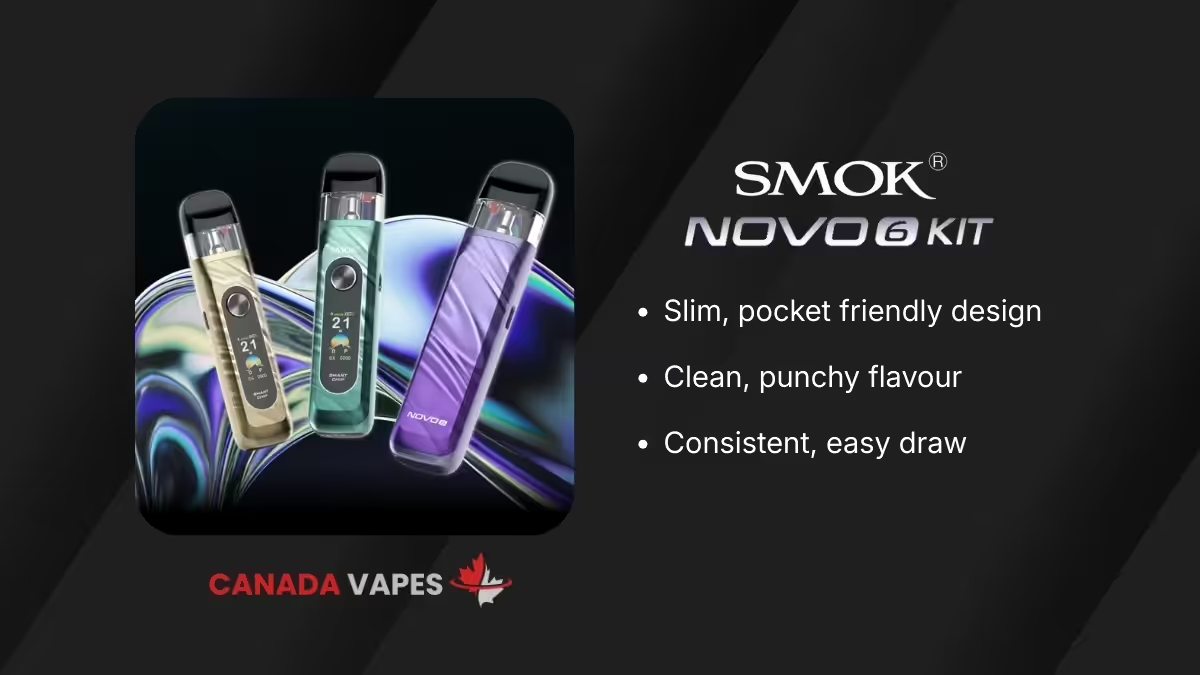
SMOK Novo 6 Review: Is This The Novo Upgrade Canadian Vapers Need?
19 December 2025
11 mins read


