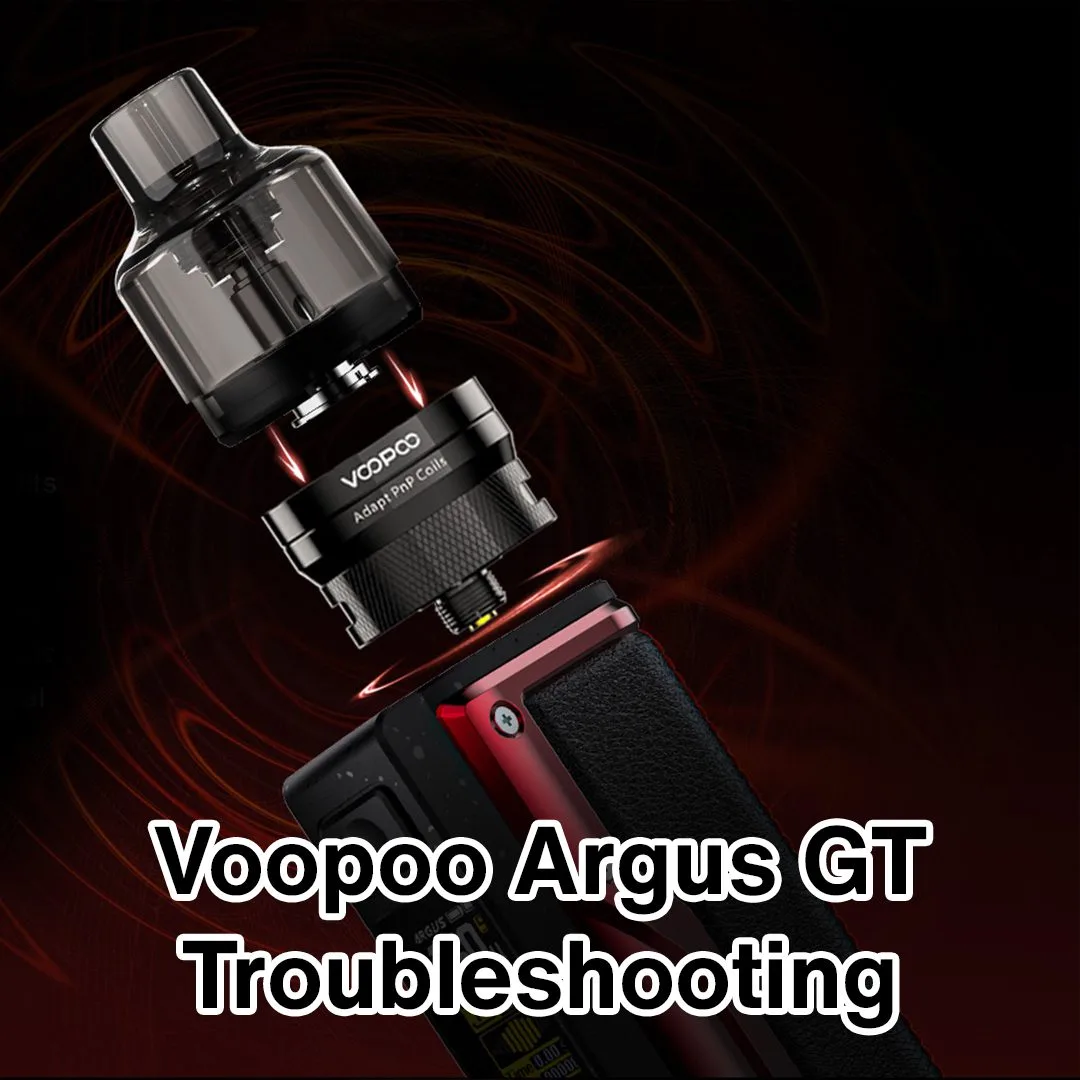
Troubleshooting your VOOPOO Argus GT vape device?
If you own the VOOPOO Argus GT kit, this page will assist you in troubleshooting many of your potential problems. The VOOPOO Argus GT is a well-made quality device, but with any vaping product on the market, could experience issues. Hopefully, you will find the questions you have and effectively troubleshoot your VOOPOO Argus GT system with this information.
1. Weak or No Vapor Production
Issue: The device produces minimal or no vapour.
Solutions:
- Check Battery Level: Ensure the battery is adequately charged. Connect the device to a power source using the provided USB-C cable and charge until the battery indicator shows a full charge.
- Inspect Coil Connection: Verify that the coil is properly installed in the tank. Remove the tank, clean the coil contacts, and reinsert it securely.
- Replace Coil: If the coil is old or worn out, replace it with a new one. Coils have a lifespan and may need replacement to maintain optimal vapour production.
- Adjust Wattage: Experiment with different wattage settings to find the optimal range for your coil resistance. Higher wattages may be required for certain coils to produce adequate vapour.
2. Burnt or Dry Hits
Issue: The vapour tastes burnt or dry.
Solutions:
- Prime the Coil: Before using a new coil, prime it by saturating the wicking material with e-liquid. Allow the coil to soak for several minutes to ensure proper saturation and prevent dry hits.
- Lower Wattage: High wattage settings can cause the coil to overheat and produce a burnt taste. Lower the wattage to a level suitable for your coil resistance and vaping preferences.
- Check E-Liquid Level: Ensure the tank is adequately filled with e-liquid. Vaping with low e-liquid levels can lead to dry hits.
- Replace Coil: If the coil is old or burnt, replace it with a new one to eliminate the burnt taste and improve vapour quality.
3. Leaking Tank
Issue: E-liquid leaks from the tank.
Solutions:
- Check O-rings: Inspect the tank’s O-rings for any damage or misalignment. Replace damaged O-rings to ensure a proper seal and prevent leaks.
- Tighten Tank: Ensure all tank components are securely tightened together. Over-tightening can damage the O-rings and cause leaks.
- Proper Filling: Avoid overfilling the tank, as it can lead to leaks. Fill the tank to just below the maximum fill line to prevent excess pressure buildup.
- Cracked Plastic: Check for any cracks in the plastic pod, especially near the top. Dropping the device or subjecting it to rough handling can cause the plastic to crack.
- Incorrectly Installed Coil: Ensure that the coil is installed correctly and securely in the pod. If the coil is not seated properly, it may cause leaking.
- Drawing Too Quickly: Take slow, steady draws from the device to prevent pulling e-liquid into the airflow chambers, which can lead to leaks.
- Prolonged Storage: If you’re not using the device for more than 24 hours, empty the tank to prevent e-liquid saturation and potential leaks.
- Flying: Before flying, empty the tank to prevent leaks due to changes in air pressure during travel.
- Overheating: Avoid leaving the device in a hot vehicle or direct sunlight, as overheating can cause e-liquid to expand and leak through the coil and mouthpiece.
- Freezing: Store the device in temperature-controlled environments to prevent plastic parts from becoming brittle and susceptible to cracking and leaking in freezing temperatures.
4. Device Not Turning On
Issue: The device does not power on.
Solutions:
- Check Battery Connection: Ensure the battery is properly inserted and making contact with the device. Clean the battery contacts if necessary to ensure a good connection.
- Charge Battery: If the battery is low, connect the device to a power source using the provided USB-C cable and charge until the battery indicator shows a full charge.
- Replace Battery: If the battery is defective, replace it with a new one.
5. Auto-Draw Not Working
Issue: The auto-draw feature does not activate.
Solutions:
- Check Airflow: Ensure the airflow vents are clear and unobstructed. Blocked airflow can prevent the auto-draw feature from activating.
- Clean Device: Clean the device thoroughly to remove any dirt or debris that may be affecting the airflow sensors.
- Adjust Settings: Check the device settings to ensure the auto-draw feature is enabled. Refer to the user manual for instructions on how to adjust the settings.
6. Not Firing
Possible Causes and Solutions:
- Device Locked: The device might be locked. Unlock it by quickly clicking the fire button five times. The LED screen will display the VOOPOO symbol to indicate that the device is unlocked.
- Low Battery: If the device is not firing, it could be due to a low battery. Charge the device using the provided Type-C USB cable. The LED indicator will show when the device is charging and turn off when charging is complete.
Buy your VOOPOO Starter Kit today from Canada Vapes! Sold in Canadian dollars, shipped from Canada the same day at the lowest prices in Canada. We even supply a free 30ml bottle of e-liquid! Or you can review all of our Vape Kits.
Do you have any additional troubleshooting tips or problems with your VOOPOO Argus GT? If so, please contact us and we would be happy to help you and add your issue to our VOOPOO Argus GT Troubleshooting Guide!
Also, check out our Voopoo Argus GT Review and Voopoo Argus GT Instruction Manual.